Sims 4 Black/White Photo Bug: How to Fix and Prevent Photo Corruption
Many players of The Sims 4 face a frustrating issue when sim photos suddenly turn black or white, resulting in the loss of treasured screenshots and digital family memories built over several generations. Fortunately, there are multiple ways to restore corrupted photos and prevent this problem in the future. In this guide, we will cover all available methods to recover and safeguard your pictures in The Sims 4.
Types of Photos in The Sims 4
Before diving into solutions, let’s identify the different types of images affected by the photo black/white issue in The Sims 4:
— Standard photos taken with a phone or camera (handheld/tripod), capturing in-game surroundings.
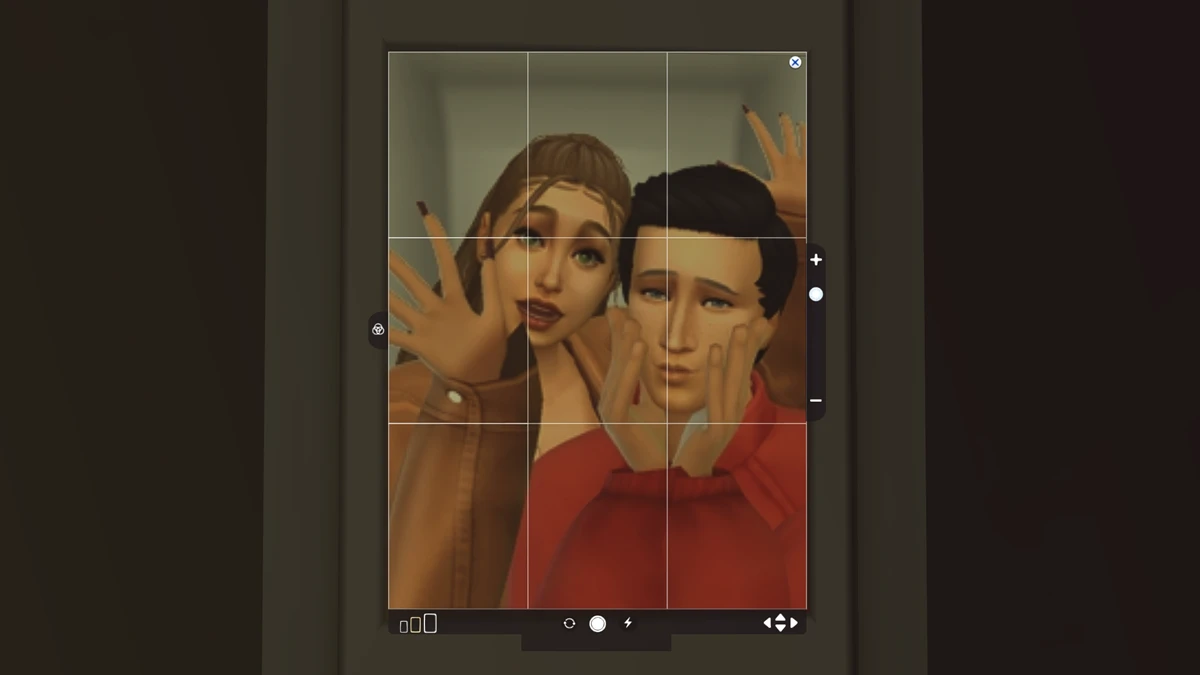
— Selfies and group photos with other sims using a phone or camera.
— Photo booth snapshots.
— Perfect date photos from the “Lovestruck” expansion.

— Graduation pictures from university gameplay.
— Celebrity autographs presented as crumpled paper, unframed or framed photos.
— Memorial images in a photo frame (from the “Life & Death” expansion).
— Photo mosaics created with the Growing Together game table.
— Small, medium, or large canvases reproduced from a photo using an easel or tablet.
How to Recover and Save Sims 4 Photos
1. Photographic Memory Mod by ravasheen
Install the Photographic Memory mod for Sims 4 and add it to your Mods folder. In Build Mode, search for the “Flash Drive Photo Storage” object included with the mod. Place it anywhere on your lot, click it, then navigate to “Photo Studio” → “Improve Photo Quality.” From there, you can select and automatically restore any corrupted photo. If some photos are missing from the flash drive list, make a copy of the destroyed snapshot in-game, and it will show up for recovery.
For a step-by-step walkthrough, check out the jamie ngassa video on this method.
2. Sims 4 Studio and an Old Uncorrupted Save
To restore lost Sims 4 memories using this method, you’ll need an old backup save with intact photos and the Sims 4 Studio program. Open your old save in TS4 Studio; export all the photo files to a separate folder. Next, open the corrupted save, and import the previously exported images. This process will recover almost all damaged photos, but it only works if you have an older backup save file that hasn’t been affected yet.
3. Sims 4 Studio and Saved Screenshots
This advanced Sims 4 photo recovery method requires the original screenshots saved on your computer. Crop your images to match in-game photo dimensions (from 108×144 px to 576×768 px, depending on the frame size). In Sims 4 Studio, locate the entries for missing photos, create new “Save Game Custom Texture” entries with matching IDs, and import your edited images. For a detailed guide on this recovery process, refer to the article linked here.
4. Saving Photos in The Gallery
The best way to prevent lost Sims 4 photos is by backing them up to the Sims 4 Gallery. Save all your precious family snapshots, paintings, mosaics, or in-game creations along with a wall or your whole house to the Gallery. This gives you a reliable backup for restoring Sims 4 memories at any time.
In this article, we'll give you a detailed breakdown of the simplest method that doesn't require installing third-party programs – saving photos to the gallery.
Note: Some photos are classified as DYNAMIC images in The Sims 4 – such as photo booth snapshots, perfect date photos, graduation and memorial pictures, and celebrity autographs. These will always turn black or blank when restored from the Gallery. DYNAMIC images must be recreated in-game.
How to Save NON-DYNAMIC Photos in the Gallery
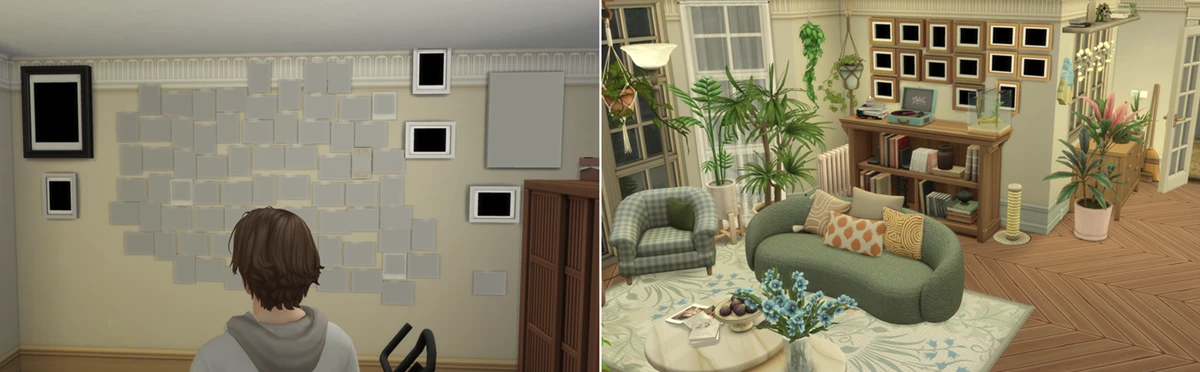
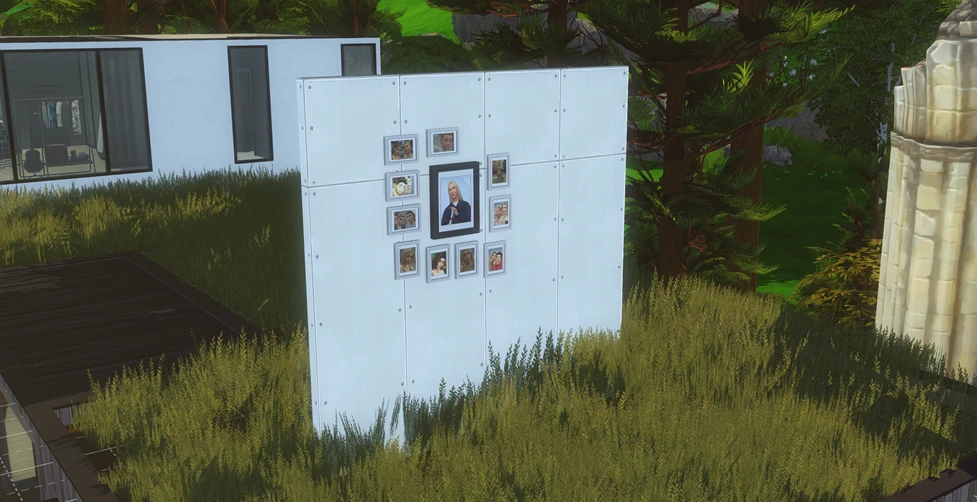
1. Enter Build Mode and place a wall without touching other walls (preferably not diagonally).
2. Hang all favorite photos, mosaics, and paintings on both sides of the wall.
3. Select the wall and choose “Save Room” (located below “Save Lot” in the top-menu “Save to Library”).
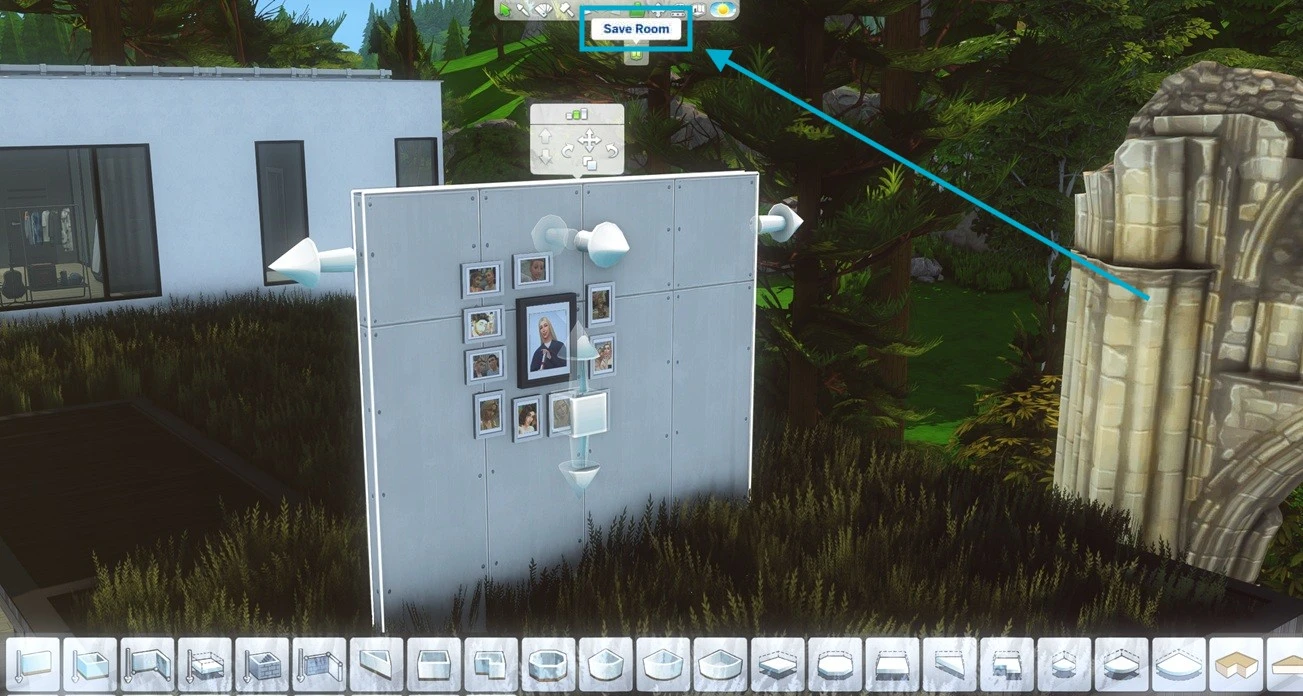
4. Give the room a descriptive name, such as family name and date.
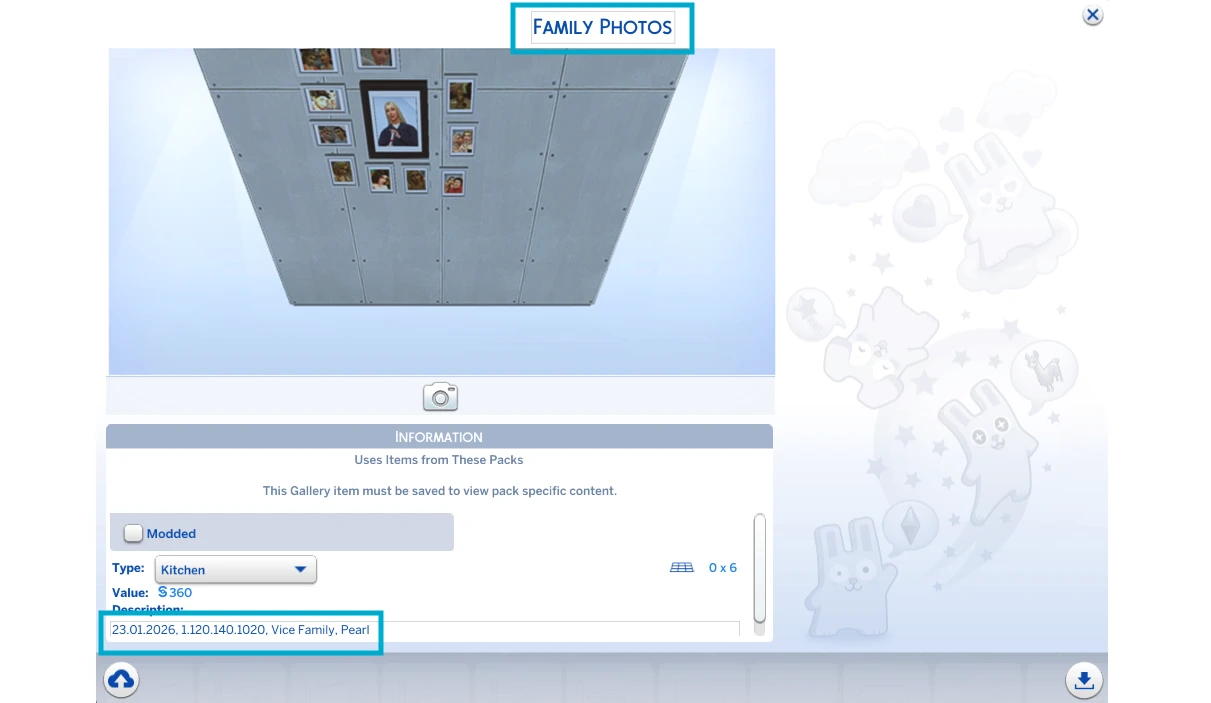
5. Save to the Gallery (bottom left arrow) or Library (bottom right arrow).
In the future, you can restore images by placing the saved wall from the Gallery on your current lot: you’ll have access to all preserved photos, mosaics, and paintings.
Important: If you prefer, you can save the entire house containing your photos to the Gallery, but only do this if you keep all memories permanently on display. Frequently changing/destroying in-game decor can lead to confusion or accidental loss.
How to Save DYNAMIC Images (Photo Booth, Graduation, etc.)
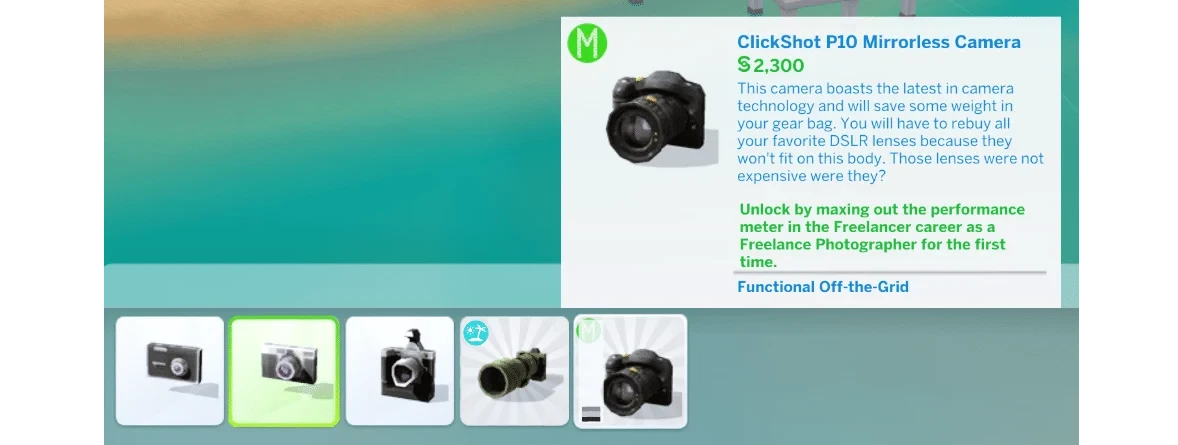
Unfortunately, DYNAMIC images cannot be backed up directly. Instead, use any sim and the best available camera to retake the photo (enlarge using hotkeys [, ]). Turn off flash, take several medium-sized shots. Then, save these new images to the Gallery as above.

Good luck!